I’ve recently had the need to explore a few different hosting environments and decided to give DigitalOcean a spin. Here’s a quick look at the steps involved in getting WordPress set up on a LEMP Ubuntu 14.04 droplet.
Setting up the Droplet
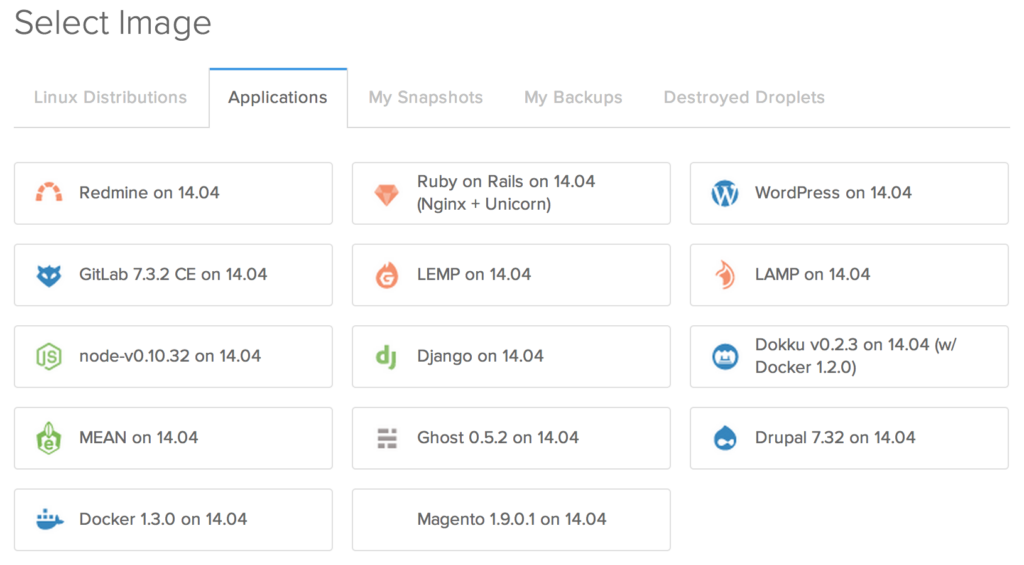
The initial setup was pretty easy after signing up for a Digital Ocean account. I chose the basic, $5/mo plan to get started and chose the LEMP on 14.04 image from the list of Applications.
The droplet took about a minute to spin up and then I logged in via SSH to complete the setup.
Setting Up MySQL
Before installing WordPress, you’ll need to create a new database and a new user with privileges to that database. When you first log in to the droplet via SSH, your root MySQL password will be displayed as part of the welcome banner. You’ll need that password to login to MySQL, using the following command:
mysql -u root -p
After logging in, you will create a new database like this:
CREATE DATABASE dbname;
Next, create a user with access to that database. First, create the user:
CREATE USER 'username'@'localhost' IDENTIFIED BY 'password';
Then, grant privileges on your database to the user you just created like this:
GRANT ALL PRIVILEGES ON dbname.* TO 'username'@'localhost';
And finally, reload privileges by running:
FLUSH PRIVILEGES;
Create a non-root user
I like to log in using a non-root user to administer the server. The process I followed can generally be found here: starting at step 3.
Add a new user by typing the following command:
adduser username
Follow the prompts to set the username and additional info.
Add sudo privileges for the new user using
visudo
Look for the line that looks like this:
# User privilege specification
root ALL=(ALL:ALL) ALL
And add the following just below:
username ALL=(ALL:ALL) ALL
I like to be able to log in without putting in a password, so I copy the contents of my public key (~/.ssh/id_rsa.pub) from my computer into a the authorized_keys file (~/.ssh/authorized_keys) in the user directory of the new user I just created on the droplet.
If everything went well, I should be able to log into the droplet from my terminal by typing a command that looks much like the following:
ssh username@mydomain.com
Installing WP-CLI
I love the power of managing WordPress from the command line using WP-CLI. I follow the installation process on their website to get up and running.
curl -O https://raw.githubusercontent.com/wp-cli/builds/gh-pages/phar/wp-cli.phar
The next step they suggest is making sure it works by typing
php wp-cli.phar --info
At which point, I got an error about needing to have php-cli installed. To fix this, I ran the following:
sudo apt-get install php-cli
Once php-cli was installed, WP-CLI worked like a charm and I completed the setup suggested at wp-cli.org by making the file executable and moving it into the executable path like so:
chmod +x wp-cli.phar
sudo mv wp-cli.phar /usr/local/bin/wp
Installing WordPress
Now that WP-CLI was installed, I created a new directory at /var/www/ for all of my sites and used WP-CLI to download WP into a new directory for my first site.
wp core download --path=mydomain.com
Next, cd into the new directory and create a wp-config.php file. I use wp-cli for this too, using the mysql database name and user we created earlier.
wp core config --dbname=dbname --dbuser=username --dbpass=password --dbhost=localhost
You can even use WP-CLI to install wordpress and setup your admin user.
wp core install --url=mydomain.com --title=My Site Title --admin_user=username --admin_password=password --admin_email=myemail@domain.com
That’s it. Now you have WordPress installed. The next step is setting up Nginx to serve up the site we just created.
Setting Up Nginx
Nginx (pronounced like engine ex) is a powerful—and generally faster—alternative to using Apache as your web sever. All the cool kids are using it and so should you.
To configure Nginx to serve our freshly installed WordPress site, follow these directions.
I’ll break it down.
First, create the config file for our site by copying the default config:
sudo cp /etc/nginx/sites-available/default /etc/nginx/sites-available/mydomain.com
Open your new config file and make the following edits:
servername mydomain.com
and
location / {
try_files $uri $uri/ /index.php?q=$uri&$args;
}
Next, we need to enable to site. The easiest way to do this is by making a link to our config file in the /etc/nginx/sites-enabled directory and remove the default:
sudo ln -s /etc/nginx/sites-available/mydomain.com /etc/nginx/sites-enabled/

sudo rm /etc/nginx/sites-enabled/default
Finally, restart Nginx and PHP
sudo service nginx restart
sudo service php5-fpm restart
Finishing Up
Once you’ve completed these steps, you should be able to point the DNS for your domain (e.g. mydomain.com) or set up a hosts file entry that points at the IP address for your droplet. If all is well, you should see your new site served when you visit from your browser.
There are a couple of additional packages I would suggest installing before finishing up.
WordPress uses postfix to send out emails (e.g., password reminders, notifications, etc.). I use apt-get to install postfix, following these instructions to complete the process.
I would also suggest installing an opcode cache. I chose APC:
sudo apt-get install php-apc
More on my caching setup in a future post.